In the realm of electronics prototyping, where ideas come to life through circuits and components, soldering is a fundamental skill. Whether you’re a hobbyist tinkering with new designs or a professional developing prototypes for innovative products, understanding the nuances of prototype board soldering can make a significant difference in the quality and reliability of your creations.
Understanding Prototype Board
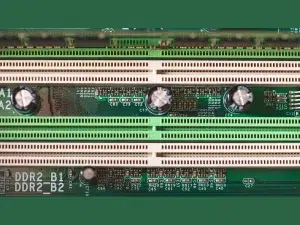
Prototype boards, also known as breadboards or protoboards, serve as the canvas for electronic designs. They typically consist of a grid of holes connected by metal traces or pads, providing a platform for assembling and testing circuits without the need for permanent soldering. While breadboards are excellent for quick prototyping and testing, they have limitations in terms of durability and suitability for more complex or permanent designs.
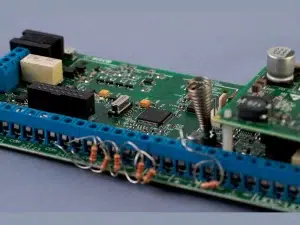
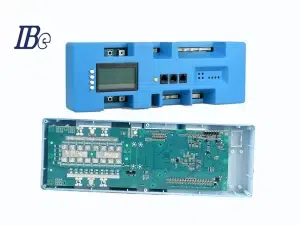
For more robust prototypes or projects intended for long-term use, soldering components onto a dedicated prototype board becomes essential. These boards, often made of fiberglass with copper traces and pads, allow components to be securely attached, forming a reliable electrical connection necessary for the circuit to function properly.
Essential Tools and Materials
Before diving into prototype board soldering, assembling the right tools and materials is crucial:
1. Soldering Iron: A quality soldering iron with adjustable temperature settings is essential. Higher temperatures are useful for soldering larger components or thick copper traces, while lower temperatures are suitable for delicate components and fine traces.
2. Solder: Lead-based or lead-free solder wire with a flux core is commonly used. The choice between lead-based and lead-free solder depends on environmental regulations and personal preference.
3. Flux: Flux aids in soldering by promoting solder flow and preventing oxidation on metal surfaces. It’s available in liquid, paste, or pen forms.
4. Desoldering Tools: Desoldering braid or a desoldering pump helps correct mistakes or remove components when necessary.
5. Third Hand Tool: This tool holds components and prototype boards in place, freeing up your hands for soldering.
6. Safety Equipment: Safety glasses and a well-ventilated workspace are essential to protect against solder fumes and accidental burns.

Soldering Techniques for Prototype Boards
1. Preparation
Before soldering, ensure the prototype board and components are clean and free of contaminants. Trim component leads to an appropriate length, leaving enough to make a secure connection without creating unnecessary stress on the board or component.
2. Tinning
Tinning involves applying a small amount of solder to the tip of the soldering iron, then briefly touching it to the component lead or copper pad on the prototype board. This coats the surfaces with solder and prepares them for a solid joint when components are joined together.
3. Soldering Components
– Heat Control: Maintain consistent control over the soldering iron’s temperature to prevent overheating sensitive components or damaging the prototype board.
– Soldering Technique: Place the soldering iron tip at the junction of the component lead and copper pad. Feed a small amount of solder onto the joint, ensuring it flows evenly around the lead and pad. Avoid excessive solder, which can lead to solder bridges or cold joints.
– Cooling: Allow solder joints to cool naturally without disturbing them to ensure they solidify properly.
4. Inspecting and Testing
After soldering each component, visually inspect joints for smoothness, shininess, and uniformity. Cold joints appear dull and uneven and may compromise electrical conductivity. Once satisfied, test the circuit using a multimeter or power supply to verify connections and functionality.
Common Challenges and Troubleshooting
1. Cold Joints
Cold joints occur when solder hasn’t properly flowed onto the joint due to insufficient heat or movement during cooling. Reheat the joint and add fresh solder to ensure a reliable connection.
2. Solder Bridges
Solder bridges occur when solder unintentionally connects adjacent pads or leads, causing short circuits. Remove excess solder using desoldering braid or a desoldering pump.
3. Component Damage
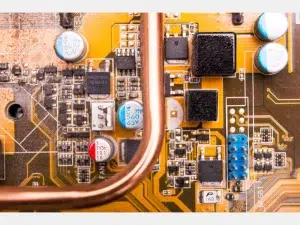
Excessive heat can damage sensitive components. Use heat sinks or heat-resistant materials to protect nearby components from excessive heat during soldering.

Advanced Techniques and Tips
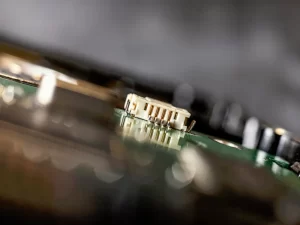
1. Surface Mount Technology (SMT)
SMT components require precise handling due to their small size and surface-level connections. Use fine-tipped soldering irons and flux pens to accurately solder SMT components onto prototype boards.
2. Heat Management
For prototypes with components sensitive to heat, consider using heat sinks or thermal shielding to prevent damage during soldering.
Conclusion
Mastering prototype board soldering is an essential skill for anyone involved in electronics prototyping and development. By understanding the tools, materials, and techniques involved, you can ensure the reliability, functionality, and longevity of your electronic creations. From basic through to advanced soldering techniques, each step contributes to the successful assembly of circuits that bring ideas from concept to reality. With practice and attention to detail, you can confidently solder prototype boards, turning your designs into functional prototypes ready for testing and iteration in the pursuit of innovation.