► Advantages of Single-Sided PCB:
-Cost-Effective: Single-sided PCBs are generally more cost-effective to produce compared to double-sided or multilayer PCBs. The manufacturing process is simpler, which leads to lower production costs.
-Ease of Design and Manufacturing: Single-sided PCBs are easier to design and manufacture, making them suitable for simpler electronic devices and projects with less complex circuitry.
-Easier to Troubleshoot and Repair: Since all the components and traces are on one side of the board, troubleshooting and repairing single-sided PCB are generally easier. It is more straightforward to identify and access components.
-Suitable for Low-Density Circuits: Single-sided PCBs are sufficient for circuits with lower component density and simpler routing requirements. They are often used in basic electronics projects and applications.
► Disadvantages of Single-Sided PCB:
-Limited Complexity: Single-sided PCB has limitations in terms of complexity. They may not be suitable for circuits with a high component density or intricate routing requirements.
-Space Constraints: The single layer available for components and traces may result in larger board sizes, which can be a constraint in space-sensitive applications.
-Reduced Signal Integrity: In complex circuits, the lack of a dedicated ground or power plane can lead to reduced signal integrity. This can result in increased susceptibility to electromagnetic interference (EMI) and signal crosstalk.
-Not Suitable for Advanced Circuits: For advanced electronic devices with sophisticated features, such as high-frequency applications or complex digital systems, single-sided PCB may not provide the required capabilities.

Designing a single-layer PCB involves creating a layout for the circuit on a single side of the board. Here are the general steps to design a single-layer PCB:
Schematic Design:
Start by creating a schematic diagram of your circuit using a schematic capture tool. This diagram represents the connections between components. Ensure that the schematic is clear and logically organized.
Component Placement:
Once the schematic is complete, move to the PCB layout stage. Begin by placing the components on the PCB layout software. Consider the physical size of components, their orientation, and their interconnections. Try to arrange components in a way that minimizes the length of traces.
Routing:
Connect the components using copper traces. Since it’s a single-layer PCB, all traces will be on one side. Plan the routing carefully to avoid crossing traces and ensure a neat layout. Use vias only when necessary, as they can complicate the design and increase production costs.
Ground Plane:
If possible, designate a solid ground plane on the PCB. A ground plane helps improve the overall performance of the circuit by providing a low-impedance return path for currents. In a single-layer PCB, you might need to be creative in designing the ground plane, such as creating “islands” for ground connections.
Keep Components Close:
Keep components that need to be electrically connected close to each other. This minimizes trace lengths and reduces the risk of signal integrity issues.
Labeling and Documentation:
Add labels to your components and connectors for clarity. Provide necessary documentation, such as a reference designator for each component and any additional notes for assembly.
Silkscreen and Reference Designators:
Add a silkscreen layer to mark the components on the PCB. Reference designators (e.g., R1, C2) help identify each component and match them with the schematic.
Verify Design:
Use design rule checking (DRC) tools to ensure that your design meets the fabrication and assembly requirements. Check for spacing, clearances, and other design rules set by your PCB manufacturer.
Export Gerber Files:
Once the design is verified, export Gerber files from your PCB design software. Gerber files contain the information needed for PCB fabrication, including copper layers, solder mask, and silkscreen.
Fabrication:
Send the Gerber files to a PCB manufacturer for fabrication. Choose appropriate materials and specifications based on your project requirements.
Assembly:
Once you receive the fabricated PCB, you can proceed with the assembly by soldering the components onto the board.

Identifying a single-layer PCB can be done through visual inspection and by examining the physical characteristics of the board. Here are several key indicators to help identify a single-layer PCB:
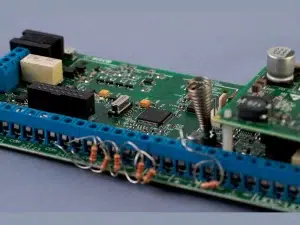
1. Visual Inspection:
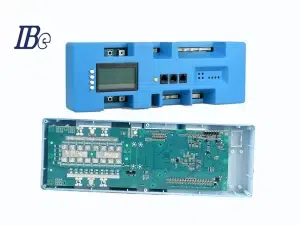
Components on One Side: In a single-layer PCB, all electronic components are typically mounted on one side of the board. This is because there is only one layer of conductive material, and components are soldered directly to the copper traces on that side.
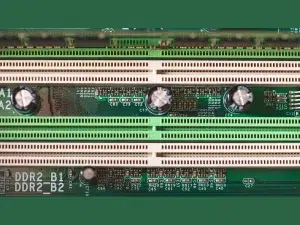
2. Examine the Copper Traces:
Single Copper Layer: A single-layer PCB will have only one layer of copper. You can identify this by inspecting both sides of the board. If there is copper on only one side, it’s likely a single-layer PCB.
3. Thickness:
Thin Board: Single-layer PCB is generally thinner compared to multi-layer PCBs. If the PCB appears to be relatively thin (typically between 0.6 mm and 1.6 mm), it may be an indication of a single-layer board.
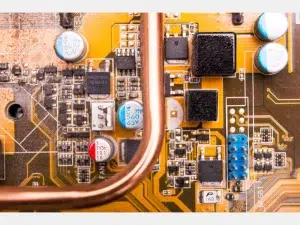
4. Visualize the Etching Pattern:
Simple Etching Pattern: In the manufacturing process of a single-layer PCB, a simple etching process is used to create the circuit pattern. The copper is etched away in areas that are not protected by the photoresist, leaving behind a straightforward circuit pattern.
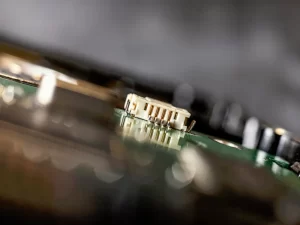
5. Inspect for Vias:
No Vias: Unlike multi-layer PCBs, single-layer PCB does not have vias, which are conductive paths that connect different layers. If you don’t see any small holes or via structures on the board, it’s likely a single-layer PCB.