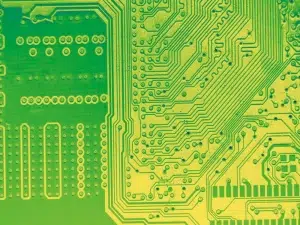
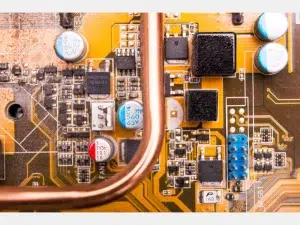
A PCB stencil is a thin sheet of material, typically metal (such as stainless steel), with precise cutouts or openings that correspond to the solder pads on a printed circuit board (PCB). These cutouts allow solder paste to be applied to the PCB in a controlled manner during the assembly process.
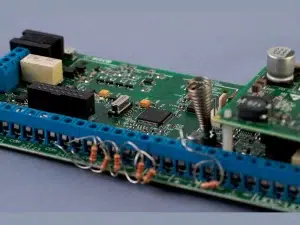
PCB stencils are commonly used in surface mount technology (SMT) assembly, where electronic components are mounted directly onto the surface of the PCB. Before placing the components, solder paste is applied to the solder pads through the stencil. The stencil ensures accurate and consistent application of solder paste, which is crucial for achieving proper solder joints during the reflow soldering process.
PCB stencils can be manufactured using various methods, including chemical etching, laser cutting, or electroforming. They come in different thicknesses and sizes, depending on the requirements of the PCB design and assembly process. Using a stencil can significantly improve efficiency and reliability in PCB assembly, especially for high-volume production.
 PCB stencils are typically made from thin sheets of metal or polymer materials that can withstand the rigors of the solder paste application process. The choice of material depends on factors such as durability, cost, and the manufacturing method used. Here are some common materials used in PCB stencils:
1. Stainless Steel:
– Stainless steel is one of the most widely used materials for PCB stencils due to its durability and resistance to corrosion. It is capable of withstanding multiple uses and can maintain its flatness over time. Stainless steel stencils are suitable for both laser cutting and chemical etching manufacturing methods.
2. Nickel:
– Nickel is another metal used for PCB stencils. It offers good durability and is suitable for electroforming, a manufacturing method where metal is deposited onto a patterned substrate through an electroplating process. Nickel stencils are known for their high precision and smooth aperture walls.
3. Polyester Film (Mylar):
– Polyester film, commonly known as Mylar, is a flexible polymer material used for making low-cost PCB stencils. Mylar stencils are typically used for prototyping or low-volume production. They are manufactured using a laser cutting process and are suitable for single-use applications.
4. Polyimide Film (Kapton):
– Polyimide film, often referred to as Kapton, is another flexible polymer material used for making PCB stencils. Kapton stencils offer higher temperature resistance compared to Mylar stencils, making them suitable for reflow soldering processes with elevated temperatures. They are also manufactured using laser cutting and are suitable for single-use applications.
5. Brass:
– Brass stencils are less common but can be used for certain applications. Brass offers good durability and can be manufactured using chemical etching methods. Brass stencils are often used for thicker stencil requirements or special applications where the properties of brass are advantageous.
Each material has its advantages and limitations, and the choice depends on factors such as the specific requirements of the PCB assembly process, budget constraints, and manufacturing capabilities.